
 Bookmark
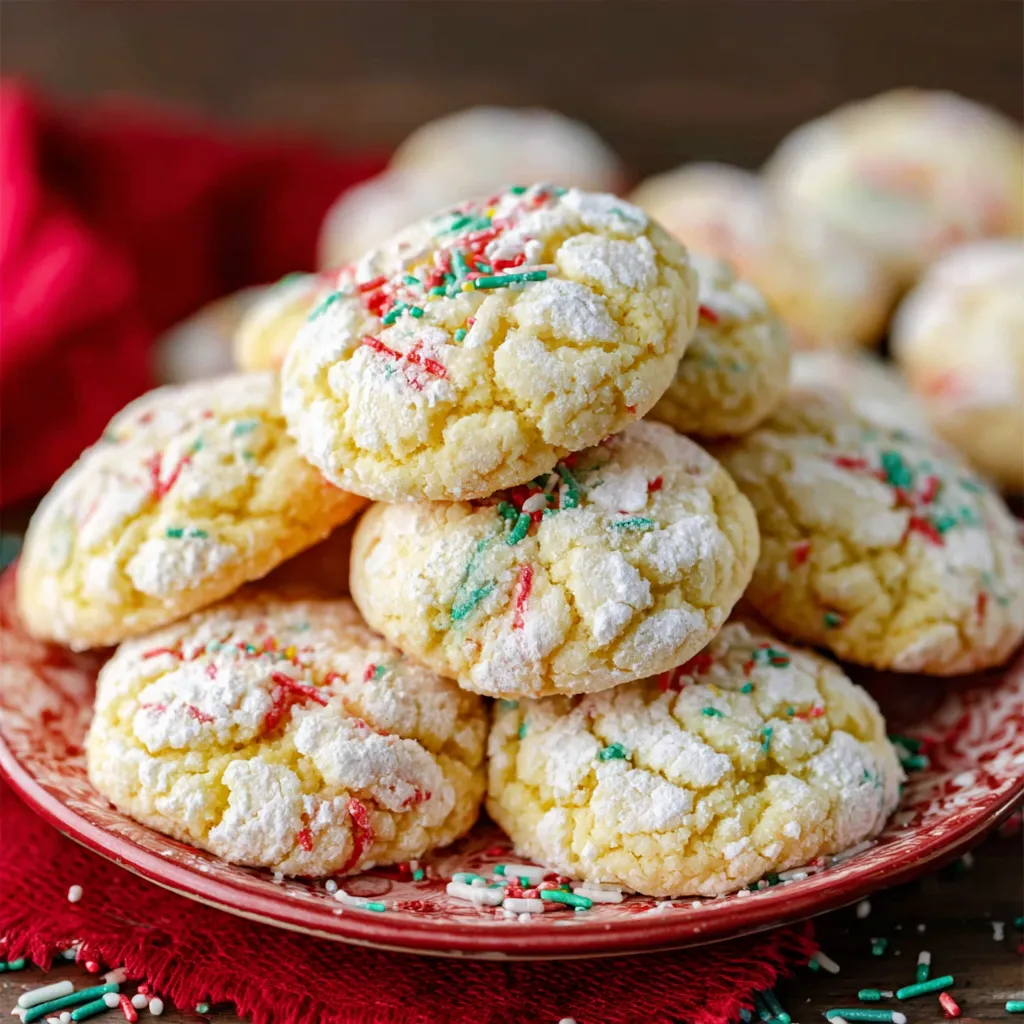
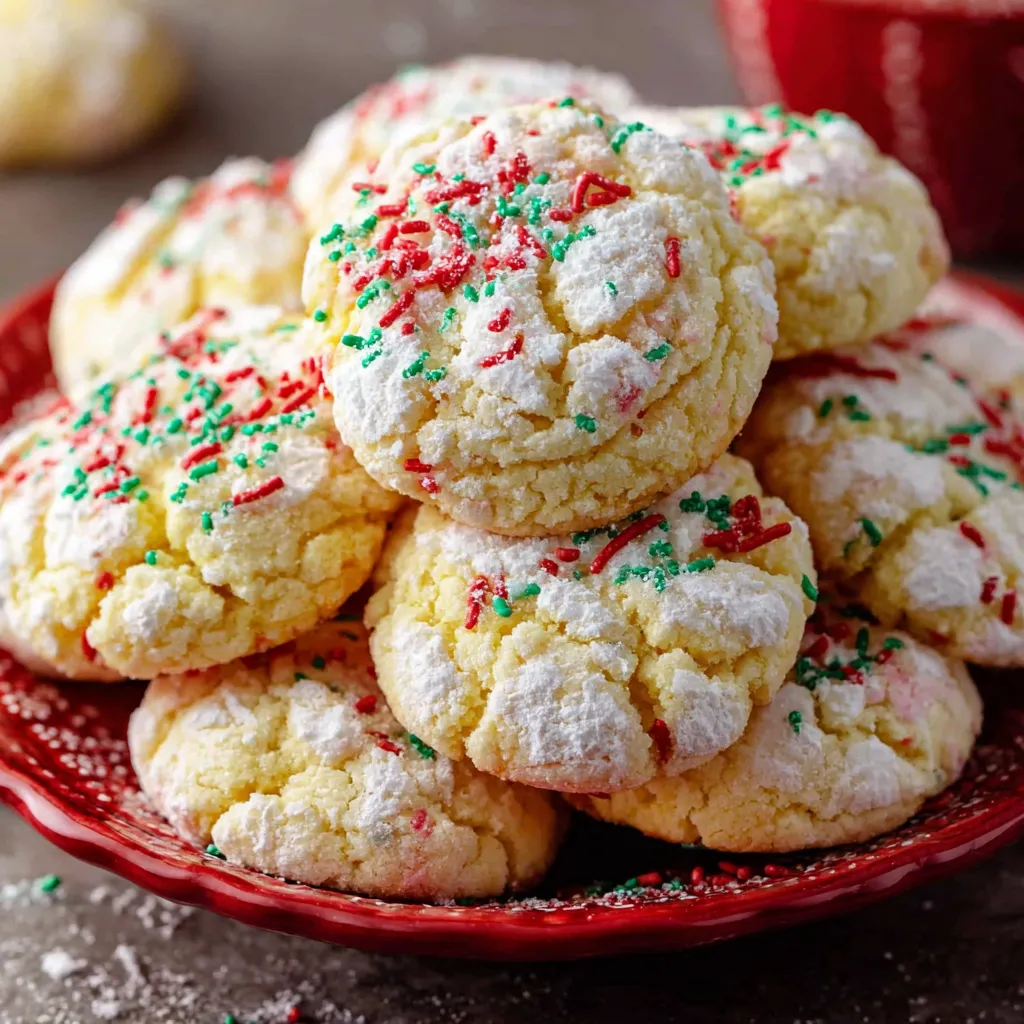
This hearty yellow cake butter cookie recipe has been my go-to for last-minute bake sales and holiday gatherings for years. These cookies deliver that perfect combination of crispy edges with an irresistibly gooey center that makes everyone reach for seconds.
I first made these cookies when my daughter needed treats for a school event with only an hour's notice. They were such a hit that they've become our signature family dessert for every holiday and gathering since!
Ingredients
- 1 package yellow cake mix this forms the base of your cookie and provides that nostalgic birthday cake flavor use a quality brand for best results.
- 8 oz cream cheese softened at room temperature creates that signature gooey center make sure its completely soft to avoid lumps.
- 1/2 cup unsalted butter softened at room temperature works with the cream cheese for richness opt for good quality butter for the best flavor.
- 1 large egg binds everything together room temperature eggs incorporate better.
- 1 tsp vanilla extract enhances the buttery flavor pure vanilla extract rather than imitation makes a noticeable difference.
- Powdered sugar for dusting creates that beautiful crackly exterior be generous when coating.
- Festive sprinkles optional for decoration choose colors that match your occasion or season.
Step-by-Step Instructions
- Prepare the Wet Ingredients
- Begin by adding your softened butter and cream cheese to a large mixing bowl. Make sure both are truly at room temperature this is crucial for a smooth texture. Beat them together for at least 2 minutes until the mixture becomes light and fluffy with no visible lumps. Add the vanilla extract and egg, then continue mixing for another minute until everything is completely incorporated and silky smooth. The mixture should look pale yellow and have a mousse like consistency.
- Add the Dry Ingredients
- Pour the entire box of yellow cake mix into your wet ingredients but do this gradually about a third at a time. Mix on low speed initially to prevent the dry ingredients from flying everywhere. As the dough forms it will become quite thick and sticky this is exactly what you want. Continue mixing until no dry pockets remain scraping down the sides of the bowl as needed. The finished dough will be soft but should hold its shape when scooped.
- Chill the Dough
- This step cannot be skipped even when you're in a hurry. Transfer your dough to a clean bowl and cover it tightly with plastic wrap making sure it touches the surface of the dough to prevent it from drying out. Refrigerate for at least 30 minutes though one hour is better. This chilling process firms up the butter and cream cheese making the dough much easier to handle and ensuring your cookies don't spread too thin during baking.
- Shape and Coat the Dough
- Line your baking sheets with parchment paper before you begin handling the dough. Fill a small bowl with powdered sugar for coating about 1 cup should be plenty. Using a cookie scoop or tablespoon measure scoop out dough portions and roll them between your palms to form 1 inch balls. If using sprinkles roll the ball in sprinkles first pressing gently to help them adhere. Then thoroughly coat each ball in powdered sugar rolling twice to ensure a thick even layer. Place the coated balls on your prepared baking sheet spacing them about 2 inches apart.
- Bake the Cookies
- Preheat your oven to 350°F ensuring it reaches full temperature before baking. Place one tray of cookies in the center rack of your oven and bake for exactly 10 minutes for smaller cookies or 12 minutes for larger ones. Watch carefully toward the end the cookies are done when they have spread slightly and the tops have cracked to reveal the dough underneath but the centers still look slightly underbaked. The edges should be just barely set with no browning yet this is crucial for maintaining that gooey center.
- Cool and Serve
- Let the cookies rest on the hot baking sheet for exactly 5 minutes this allows them to firm up just enough to handle. If you try to move them immediately they might fall apart. After the brief rest carefully transfer each cookie to a wire cooling rack using a thin spatula. Allow them to cool completely about 20 minutes during which time they'll set up perfectly while maintaining their signature gooey centers. Once cooled you can dust with additional powdered sugar for an extra festive touch if desired.
 Bookmark
My absolute favorite version uses lemon cake mix with a bit of extra lemon zest mixed in. I discovered this variation when making them for my mother's birthday, as lemon is her favorite flavor. The bright citrus twist makes them perfect for spring gatherings, and now our family calls them "Sunshine Cookies" because they always brighten everyone's mood.
Storage Tips
These gooey butter cookies stay wonderfully soft when stored correctly. For maximum freshness, place them in an airtight container with layers separated by wax paper. The secret trick I learned from my grandmother is adding a slice of bread to the container - it releases moisture that keeps the cookies soft for days. At room temperature, they'll stay perfect for up to 5 days, though they rarely last that long in my house! If your kitchen runs warm, refrigeration is an option, but let them come to room temperature before serving for the best texture.
Customizing Your Cookies
The beauty of this recipe lies in its versatility. By simply changing the cake mix, you can create endless flavor variations. For chocolate lovers, a devil's food cake mix creates decadent cookies that pair wonderfully with peppermint extract during the holidays. Spice cake mix with a touch of extra cinnamon makes incredible fall cookies, while strawberry cake mix produces pretty pink treats perfect for Valentine's Day or baby showers. For birthday celebrations, funfetti cake mix needs no additional sprinkles - the cookies come out festive all on their own. I particularly love making seasonal varieties using limited edition cake mixes like pumpkin spice in fall or lemon in springtime.
Perfect Pairings
These butter cookies deserve to be enjoyed properly! For the classic yellow cake version, nothing complements them better than a cold glass of milk, which balances their sweetness perfectly. Coffee lovers will appreciate how the rich brew enhances the buttery notes, especially with the chocolate cake mix variation. For a truly indulgent dessert experience, sandwich vanilla ice cream between two completely cooled cookies and freeze for an hour - these homemade ice cream sandwiches are always the highlight of summer gatherings. When serving these at parties, I arrange them on a tiered stand alongside fresh berries for a beautiful presentation that lets guests cleanse their palate between cookies.
 Bookmark
Recipe FAQs
- → Can I use different cake mix flavors?
Absolutely! While yellow cake mix creates the classic butter cookie flavor, you can experiment with chocolate, strawberry, funfetti, or spice cake mix. Each variation will take on the distinctive flavor of whatever mix you choose, making these cookies incredibly versatile for different occasions and taste preferences.
- → How do I know when these cookies are done baking?
Look for cookies with lightly golden, set edges while the centers still appear slightly underbaked and puffy. When gently touched, the tops should feel set but leave a slight indent from your finger. It's better to remove them a minute early than risk overbaking, as they continue setting up as they cool on the baking sheet.
- → Why is chilling the dough important?
Chilling the dough for 30-60 minutes is crucial as it firms up the butter and cream cheese, making the dough easier to handle and shape into balls. This step also helps prevent excessive spreading during baking, ensuring your cookies maintain their thick, gooey texture rather than becoming thin and crispy.
- → How should I store these cookies?
Store in an airtight container at room temperature for up to 5 days (add a slice of bread to maintain softness), refrigerate for up to a week, or freeze for up to 3 months with wax paper between layers. For refrigerated cookies, let them sit at room temperature for about 15 minutes before serving to restore their soft texture.
- → Can I make the dough ahead of time?
Yes, you can prepare the cookie dough up to 24 hours in advance and keep it covered in the refrigerator. When ready to bake, allow the dough to sit at room temperature for about 30 minutes so it softens enough to roll into balls before coating with powdered sugar and baking.
- → What's the secret to getting that perfect crackly top?
The beautiful crackled appearance comes from being generous with powdered sugar. Roll each dough ball twice in powdered sugar, ensuring a thick, even coating. As the cookies bake and expand, the coating cracks, creating that distinctive pattern. Using room-temperature ingredients also helps create the proper dough consistency for optimal cracking.