
 Bookmark
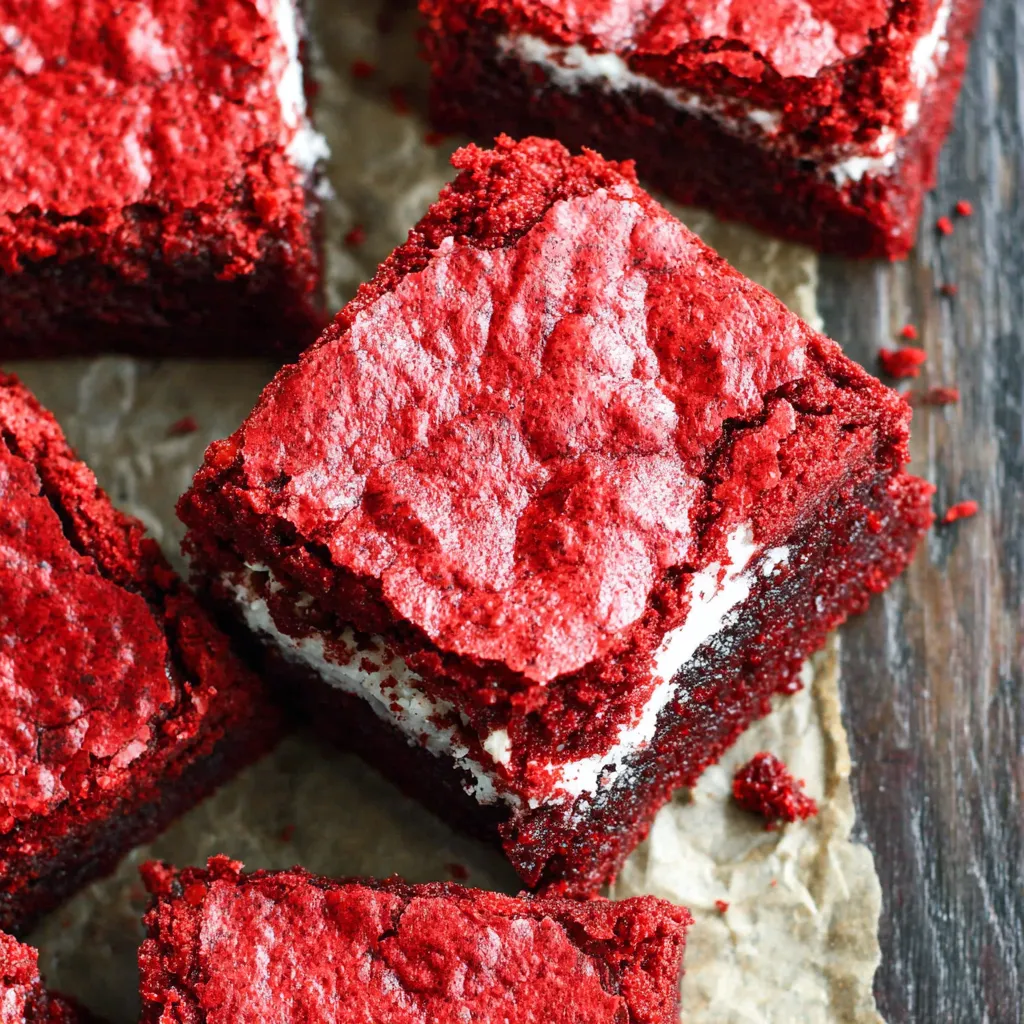
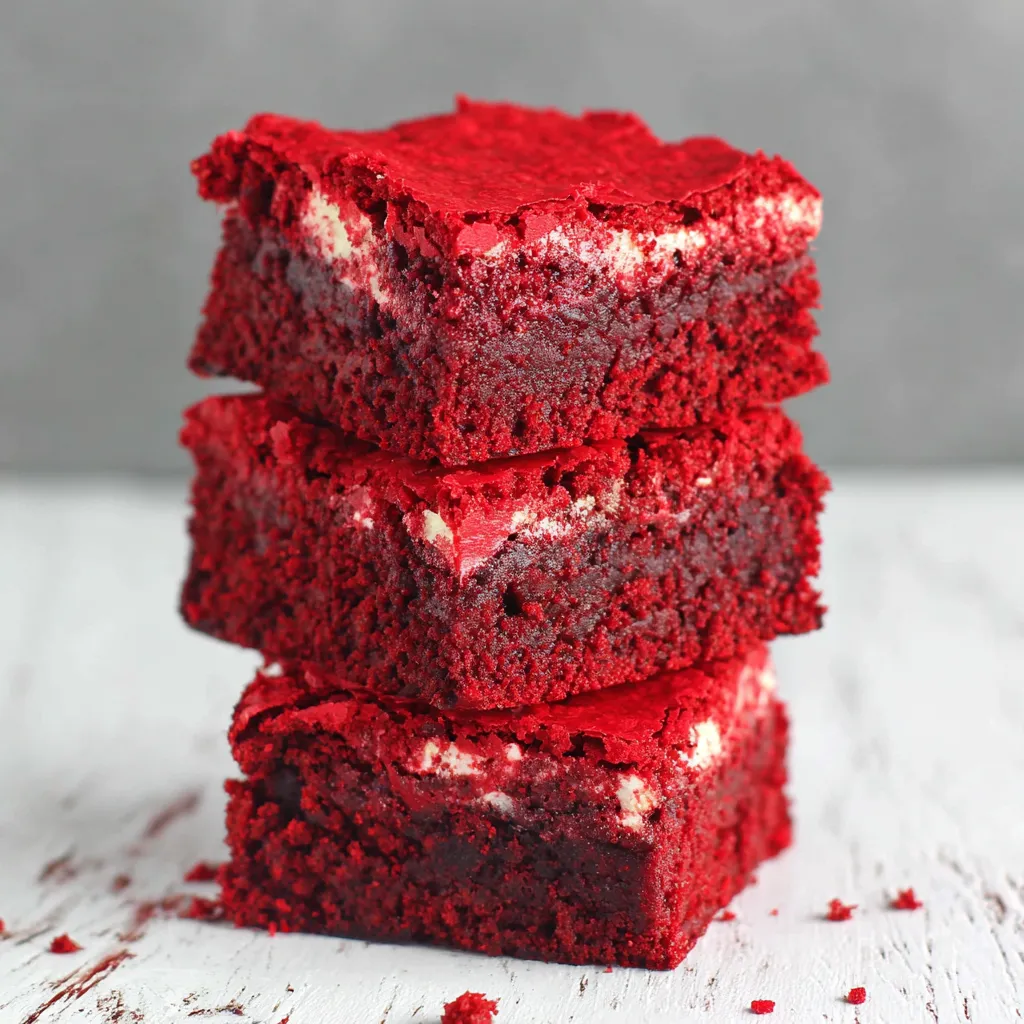
This rich red velvet brownie recipe transforms ordinary chocolate into a decadent dessert that's perfect for Valentine's Day or any special occasion. The vibrant red color combined with cream cheese frosting creates an impressive treat that looks as amazing as it tastes.
I first made these for a Valentine's Day dinner with my husband and they've become our annual tradition. The look on his face when I presented these gorgeous brownies was worth every minute spent in the kitchen!
Ingredients
- Unsalted butter allows you to control the salt level and creates a richer texture in the brownies
- Ghirardelli Milk Chocolate Chips provide a smoother melt and superior flavor use high-quality chocolate for best results
- Red food coloring creates that signature vibrant color liquid coloring works best for even distribution
- Cream cheese for frosting should be full-fat for the richest texture and flavor Philadelphia brand works perfectly
- Brown sugar adds moisture and depth to these brownies look for fresh soft brown sugar without lumps
Step-by-Step Instructions
- Prepare Your Pan
- Line your baking pan with foil or parchment with a slight overhang on the sides to create handles for easy removal after baking. A light spray of cooking oil prevents any sticking and makes your finished brownies picture perfect.
- Create The Chocolate Base
- Melt your chocolate and butter slowly using gentle heat. The key is patience here allowing the mixture to melt gradually preserves the chocolate's flavor compounds and prevents burning. The mixture should be completely smooth but not hot when finished.
- Mix The Wet Ingredients
- Whisk eggs sugars and vanilla until fully combined about 2 minutes of vigorous whisking. The mixture should become slightly thicker and a pale brown color. Add the food coloring and mix until the color is uniform throughout with no streaks.
- Combine Chocolate And Egg Mixtures
- Pour your cooled chocolate mixture into the egg mixture gradually while whisking constantly. This prevents the eggs from cooking and ensures a smooth batter. The temperature of the chocolate is crucial it should feel barely warm to the touch.
- Add Dry Ingredients
- Fold in your flour cocoa powder baking powder and salt with a spatula using gentle strokes. Overmixing develops gluten which leads to tough brownies. Stop folding as soon as no dry patches remain for the perfect fudgy texture.
- Bake To Perfection
- Pour the batter into your prepared pan and spread evenly into corners. Bake until a toothpick inserted in the center comes out with a few moist crumbs. The edges will appear set while the center may still look slightly underdone this ensures fudgy brownies.
 Bookmark
I absolutely adore the Ghirardelli milk chocolate in this recipe. I once tried substituting another brand and immediately noticed the difference. My daughter actually asked what was different about "her favorite brownies" proving that quality ingredients really do matter!
The Perfect Frosting Technique
Achieving that bakery-style cream cheese frosting requires room temperature ingredients. Cold cream cheese will leave lumps no matter how long you beat it. I let my butter and cream cheese sit out for at least an hour before mixing for silky smooth results. Apply the frosting only when brownies are completely cool otherwise it will melt and slide off. For picture-perfect presentation refrigerate frosted brownies for 30 minutes before cutting with a clean knife wiped between slices.
Make-Ahead And Storage Tips
These brownies actually improve with time making them perfect for planning ahead. Store unfrosted brownies at room temperature in an airtight container for up to 3 days. Once frosted they should be refrigerated and will stay fresh for up to 5 days. For longer storage freeze unfrosted brownies tightly wrapped for up to 3 months. Thaw overnight in the refrigerator then bring to room temperature before frosting. The frosting itself can be made 2 days ahead and stored refrigerated just bring to room temperature and re-whip before spreading.
Creative Serving Suggestions
Transform these brownies into an elegant dessert by cutting into small squares and arranging on a platter with fresh raspberries or strawberries. For an elevated presentation slice into rectangles and place on individual dessert plates with a drizzle of warm chocolate sauce and a dollop of whipped cream. During holidays dust the tops with festive sprinkles before the frosting sets or cut with shaped cookie cutters for themed treats. These also make a wonderful base for ice cream sundaes especially when warmed slightly before serving.
Holiday Variations
For Christmas substitute the red coloring with green and add crushed peppermint candies to the frosting. Halloween brownies can feature orange coloring with chocolate sprinkles on top. For patriotic celebrations divide the batter and color portions red and blue leaving some natural for a red white and blue layered effect. Adding seasonal extracts like peppermint orange or almond can also transform these brownies for different holidays while maintaining their decadent texture.
Recipe FAQs
- → Can I reduce the amount of red food coloring?
Yes, you can reduce the amount of red food coloring without affecting the texture. For a more subtle color, start with 1 tablespoon instead of 2. Alternatively, you can use natural food coloring or beetroot powder for a more natural approach, though the color intensity may vary.
- → How do I know when the brownies are fully baked?
Insert a toothpick into the center - it should come out clean or with a few moist crumbs (but not wet batter). The edges will appear set while the center might still look slightly soft. Remember that brownies will continue to set as they cool.
- → Can these brownies be made ahead of time?
Absolutely! These brownies actually taste even better the next day as the flavors have time to develop. Store unfrosted brownies at room temperature for up to 3 days or refrigerate frosted brownies for up to 5 days in an airtight container.
- → Can I freeze these red velvet brownies?
Yes, they freeze beautifully! Wrap individual brownies tightly in plastic wrap and then aluminum foil, or place in freezer-safe containers. Freeze for up to 3 months. Thaw overnight in the refrigerator or at room temperature for a few hours before serving.
- → What makes these red velvet rather than regular chocolate brownies?
The distinguishing factors are the bright red color from food coloring, the specific ratio of cocoa (less than regular chocolate brownies), and the cream cheese frosting which is traditional for red velvet desserts. These elements create the classic red velvet flavor profile that's milder in chocolate with a subtle tanginess.
- → Can I use dark chocolate instead of milk chocolate?
Yes, you can substitute dark chocolate for a more intense chocolate flavor. This will result in a less sweet brownie base, which some may prefer as a contrast to the sweet cream cheese frosting. Just maintain the same amount (3½ cups) to preserve the texture.