 Bookmark
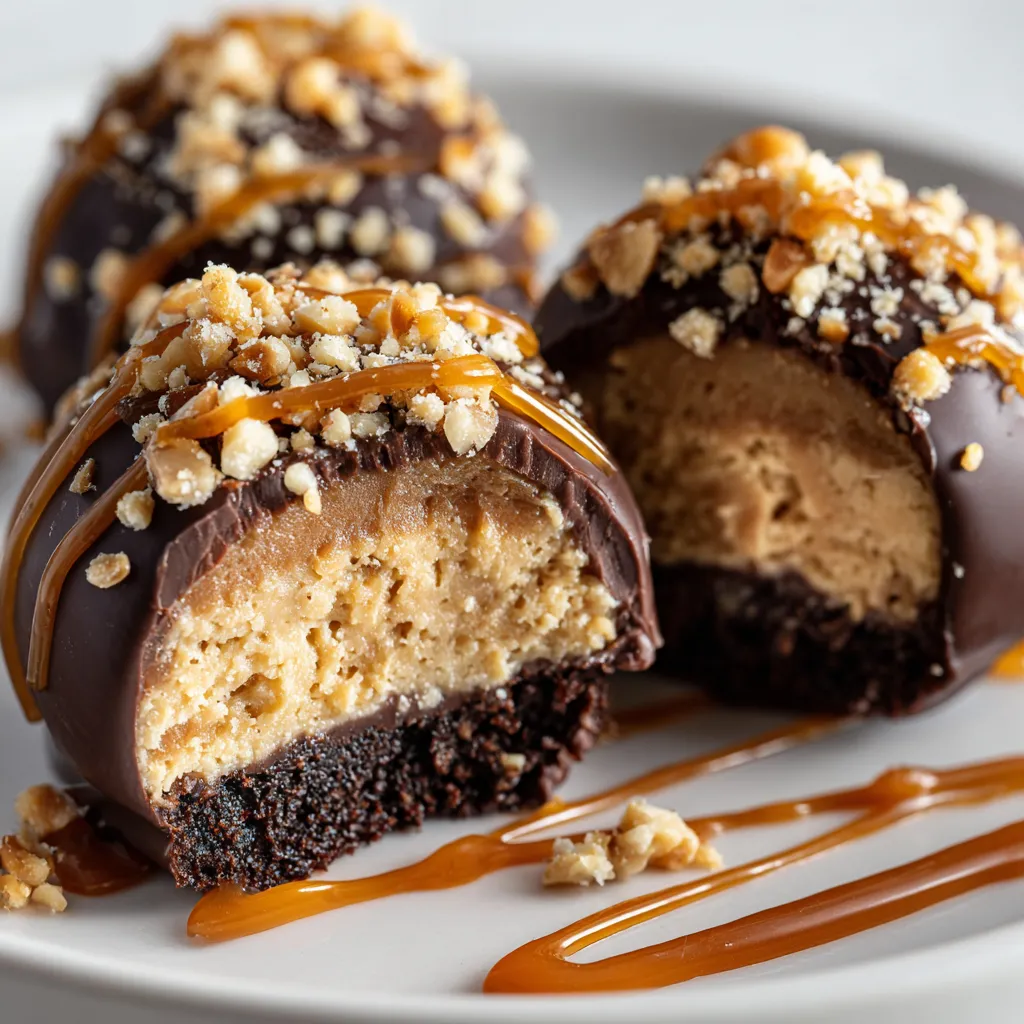
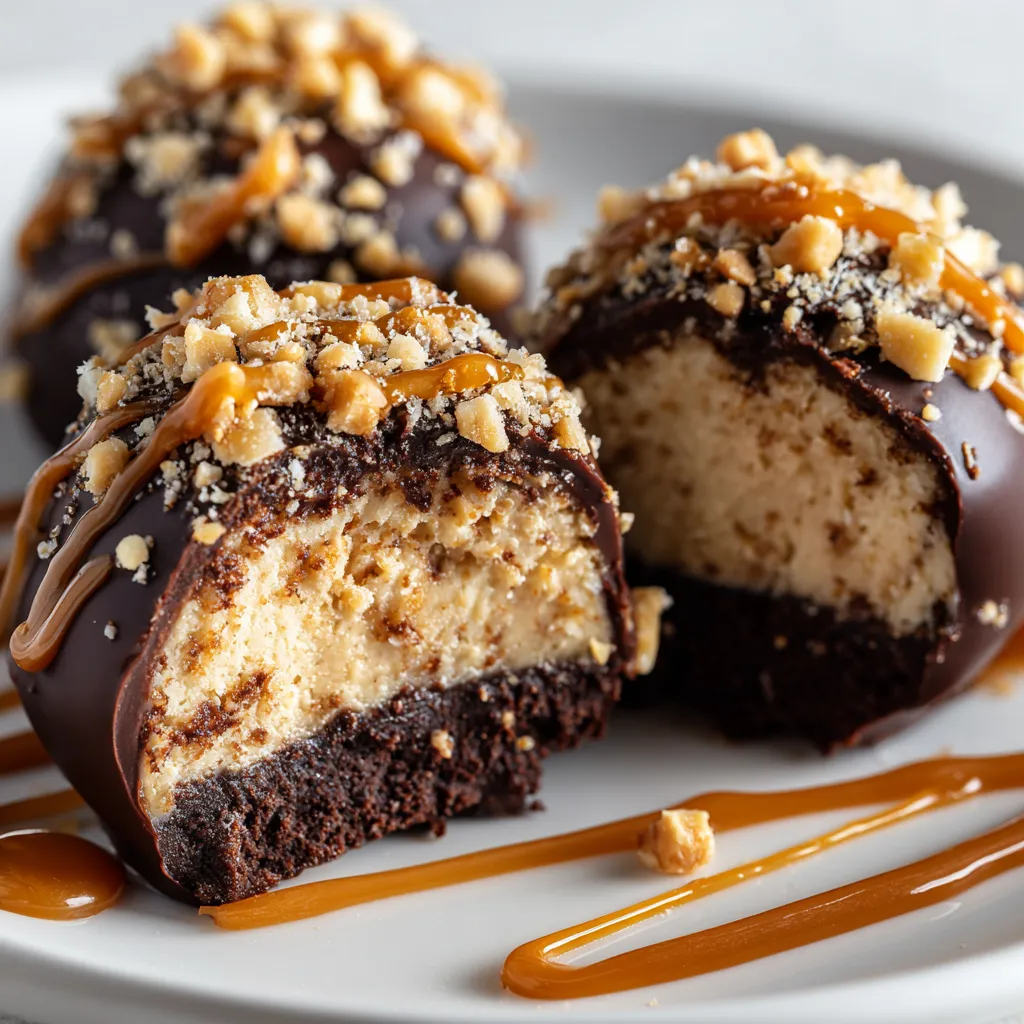
This decadent peanut butter cheesecake truffle recipe is my secret weapon for impressing guests without spending hours in the kitchen. The combination of smooth chocolate, creamy cheesecake, and rich peanut butter creates an irresistible treat that disappears within minutes whenever I serve them. What makes this recipe special is the option to create two different versions based on your preference for texture.
I created these truffles for a friend's birthday when I needed something special but was short on time. The reaction was so enthusiastic that they've become my signature dessert for gatherings and gifts during the holidays.
Ingredients
- Cream cheese softened at room temperature for at least 30 minutes for smoothest results
- Creamy peanut butter choose a commercial brand like Jif or Skippy for consistent results
- Powdered sugar sifted for lump free filling
- Heavy cream very cold for best whipping results
- Graham crackers or vanilla cookies fresh for best flavor in Version 1
- Vanilla sponge cake or ladyfingers for the perfect soft shell in Version 2
- Quality chocolate chips dark chocolate balances sweetness perfectly
- Coconut oil creates that perfect shine and snap when the chocolate sets
- Roasted peanuts adds delightful textural contrast and visual appeal
Step-by-Step Instructions
- Prepare the base filling
- Combine the softened cream cheese and peanut butter in a large bowl using an electric mixer on medium speed for about 2 minutes until completely smooth with no lumps. The mixture should be pale and fluffy. Add the powdered sugar and vanilla extract and beat for another minute until fully incorporated. In a separate chilled bowl whip the cold heavy cream until stiff peaks form typically 3 to 4 minutes. The cream should stand up straight when you lift the beaters. Gently fold the whipped cream into the peanut butter mixture using a spatula with a light hand to maintain airiness.
- For Version 1 Shape the truffles
- Mix crushed graham crackers with melted butter until it resembles wet sand. Fold this mixture into the cheesecake base. Allow the mixture to chill in the refrigerator for at least 30 minutes until firm enough to handle. Using a small cookie scoop or tablespoon portion the mixture and roll between your palms to form 1inch balls. If the mixture becomes too soft to work with place it in the freezer for 10 minutes. Arrange the balls on a parchment lined baking sheet and chill for another 20 minutes before dipping.
- For Version 2 Create the gooey center
- Mix additional peanut butter with melted butter and powdered sugar until you achieve a thick but scoopable consistency. Chill this mixture for 15 minutes then form into small half inch balls. Place these on a parchment lined plate and freeze for 20 minutes until solid. Meanwhile crumble the vanilla cake or ladyfingers and mix with a small amount of the cheesecake mixture to create a moldable dough. Take a tablespoon of this dough flatten it in your palm place a frozen peanut butter ball in the center and gently wrap the dough completely around it forming a smooth ball. Chill these assembled balls for 15 minutes.
- Chocolate coating
- In a microwave safe bowl combine chocolate chips and coconut oil. Heat in 30 second intervals stirring well between each until completely melted and smooth. Let the chocolate cool slightly about 2 minutes. Working with one truffle at a time use a fork to dip each ball into the chocolate allowing excess to drip off. Place on parchment paper and immediately sprinkle with crushed peanuts before the chocolate sets. Use a spoon to drizzle melted peanut butter over the tops in a decorative pattern. Refrigerate for 30 minutes until completely set.
 Bookmark
The secret ingredient that makes these truffles exceptional is the touch of vanilla extract in the filling. It might seem small but it enhances both the peanut butter and chocolate flavors in a magical way. My family always knows when I've forgotten it because the truffles just don't taste quite as special.
Serving Suggestions
These truffles are absolutely stunning arranged on a dark platter with a light dusting of cocoa powder beneath them for contrast. I like to serve them on a tiered dessert stand alongside fresh berries for a beautiful dessert table centerpiece. For an extra special presentation add a small gold leaf flake to the top of each truffle before the chocolate fully sets. Consider serving with small espresso cups for a sophisticated pairing that balances the sweetness perfectly.
Storage Tips
The key to maintaining freshness is proper storage. Place the finished truffles in an airtight container with parchment paper between layers to prevent sticking. They will stay fresh in the refrigerator for up to 5 days but the texture is best within the first 3 days. For longer storage freeze the uncoated truffle centers for up to 3 months then thaw overnight in the refrigerator before coating with chocolate. Let them sit at room temperature for 15 minutes before serving for the best flavor and texture experience.
Ingredient Substitutions
If youre looking for alternatives this recipe is wonderfully adaptable. Substitute almond butter or cookie butter for the peanut butter to create entirely different flavor profiles. Lactose intolerant guests will appreciate using dairy free cream cheese and coconut cream instead of heavy cream. For a gluten free version simply use gluten free cookies or graham crackers for Version 1 and gluten free sponge cake for Version 2. White chocolate works beautifully for coating creating a striking appearance especially when sprinkled with colorful chopped pistachios or freeze dried raspberry pieces.
Recipe FAQs
- → Can I use crunchy peanut butter instead of creamy?
While creamy peanut butter works best for a smooth texture, you can substitute crunchy peanut butter if you prefer added texture. For the gooey center version, however, stick with creamy to maintain the proper consistency.
- → How do I prevent the chocolate coating from cracking?
To prevent cracking, ensure your truffles are thoroughly chilled before dipping, add 1 teaspoon of coconut oil or vegetable oil to your melted chocolate for flexibility, and allow the truffles to come to room temperature for about 5 minutes before serving.
- → Can these truffles be frozen for later?
Yes! These truffles freeze beautifully for up to 3 months. Place them in a single layer on a parchment-lined tray until completely frozen, then transfer to an airtight container with parchment between layers. Thaw in the refrigerator overnight before serving.
- → What can I substitute for the vanilla cake in Version 2?
If you don't have vanilla sponge cake or ladyfingers, you can substitute graham cracker crumbs, vanilla wafer crumbs, or even crushed shortbread cookies mixed with a bit of cream cheese to create a moldable dough for the outer shell.
- → How can I tell when the truffles are properly set?
Properly set truffles will feel firm to the touch and have a glossy chocolate coating. When cut open, Version 1 should hold its shape while remaining creamy, and Version 2 should reveal a distinct gooey center surrounded by the cake layer.
- → Can I make these dairy-free?
Yes, you can adapt this recipe using dairy-free cream cheese, plant-based butter, and coconut cream (chilled and whipped) instead of heavy cream. For the chocolate coating, use dairy-free chocolate chips and ensure your peanut butter doesn't contain milk solids.
