
 Bookmark
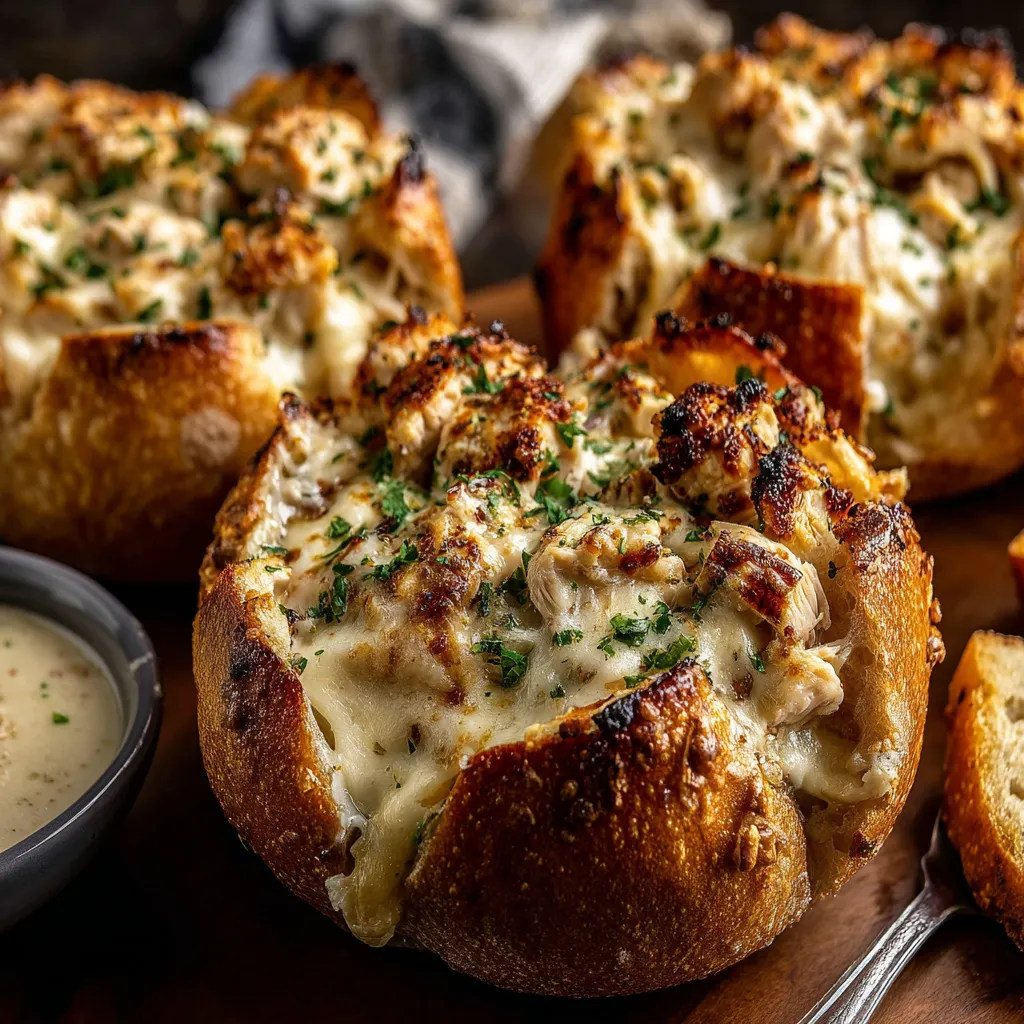
This hearty Garlic Bread Bowl Chicken Alfredo has become my family's favorite comfort food dinner solution. Combining the indulgence of creamy chicken Alfredo with the irresistible crunch of garlic bread creates a meal that's as impressive as it is satisfying.
I first made these bread bowls during a particularly cold winter evening when my family needed something special. The way their eyes lit up when I brought these to the table convinced me this recipe needed to become part of our regular rotation.
Ingredients
- Bakery bread rolls choose sturdy sourdough or Italian rolls that will hold their shape
- Unsalted butter creates the perfect garlic butter base without overwhelming saltiness
- Fresh garlic provides aromatic flavor that store bought garlic powder simply cannot match
- Fresh parsley adds brightness and color to both the garlic butter and final presentation
- Rotisserie chicken saves tremendous time while adding rich flavor
- Alfredo sauce either homemade or quality store bought works beautifully
- Mozzarella cheese creates that perfect stretchy cheese pull when serving
- Parmesan cheese adds nutty depth and saltiness to balance the creamy elements
- Broccoli florets optional but adds nutrition and color to the filling
- Black pepper freshly ground provides the best flavor contrast against the creamy sauce
Step-by-Step Instructions
- Prepare the Bread Bowls
- Preheat your oven to 375°F and line a baking sheet with parchment paper. Using a serrated knife carefully slice off the top half inch of each bread roll. Take your time hollowing out the insides leaving a substantial half inch border of bread around all sides to create a sturdy bowl. Save the bread pieces for making breadcrumbs later.
- Create the Garlic Butter
- Mix melted butter with finely minced fresh garlic chopped parsley and a small pinch of salt in a bowl until well combined. The warm butter helps the garlic flavor infuse quickly. Brush this mixture generously inside and around the rim of each bread bowl making sure to cover all exposed bread surfaces for maximum flavor.
- Prepare the Filling
- Combine your cooked chicken Alfredo sauce both cheeses chopped broccoli if using black pepper and red pepper flakes in a bowl. Mix thoroughly until everything is well coated in the sauce. The mixture should be thick enough to hold together but still creamy enough to melt beautifully when baked.
- Fill and Bake
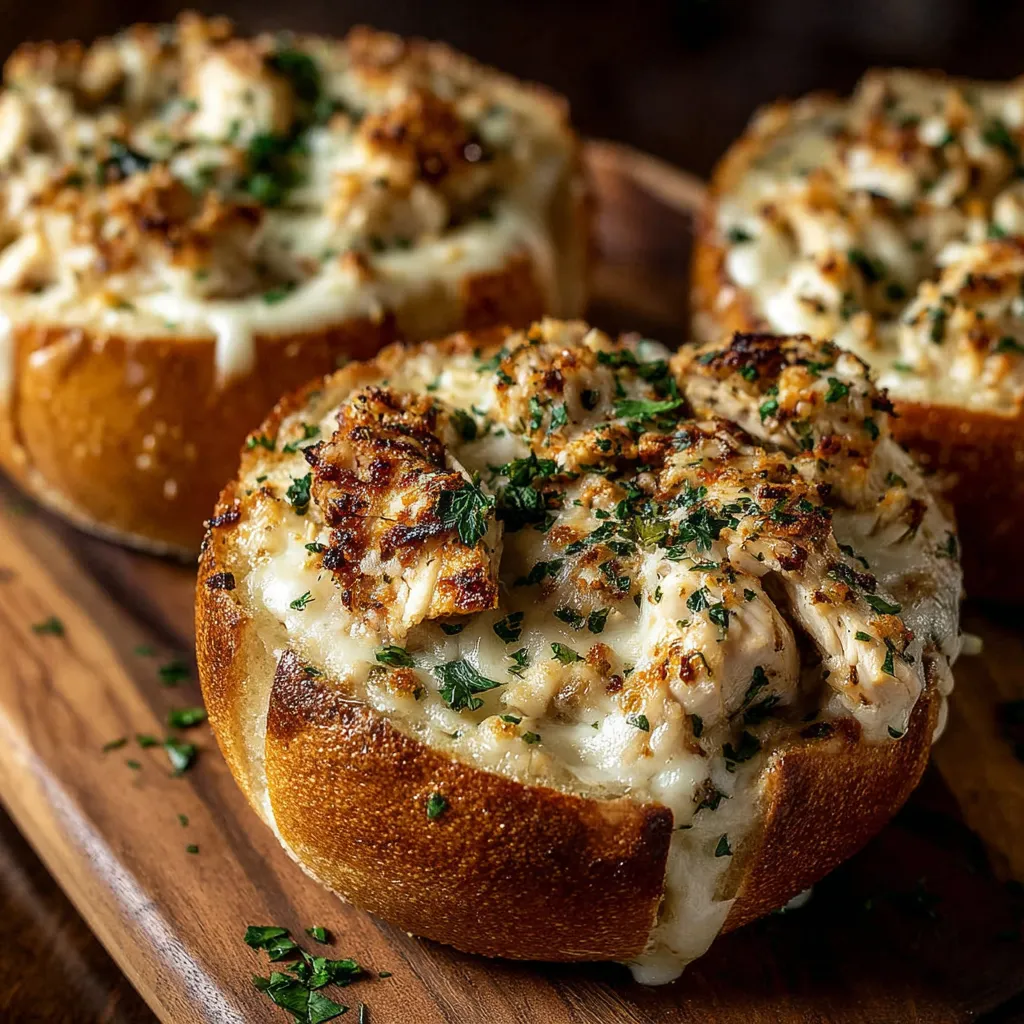
- Spoon the chicken Alfredo mixture evenly between the prepared bread bowls slightly mounding the filling. Top with a bit more cheese if desired. Place on your prepared baking sheet and bake for 15 to 18 minutes watching carefully. You want the cheese melted and bubbly and the bread edges golden brown but not burnt.
 Bookmark
The first time I served these to my children they couldn't believe they could actually eat the bowl. My daughter now specifically requests these for her birthday dinner every year declaring them better than any restaurant meal she could order.
Make Ahead Options
These bread bowls work wonderfully for meal prep. You can prepare the chicken Alfredo filling up to two days in advance and store it covered in the refrigerator. The hollowed bread bowls can also be prepared a day ahead and stored in an airtight container. When ready to serve simply assemble and bake. This makes them perfect for entertaining since all the prep work happens before your guests arrive.
Customization Ideas
The beauty of this recipe lies in its adaptability. Try swapping the chicken for cooked shrimp or sautéed mushrooms for a vegetarian option. The Alfredo sauce can be replaced with marinara for a totally different flavor profile or use a combination for a creamy rosé sauce. For those who love vegetables beyond broccoli try adding sautéed spinach roasted red peppers or sun dried tomatoes to the filling. Each variation creates an entirely new experience while maintaining the delightful contrast between crunchy bread and creamy filling.
Serving Suggestions
While these bread bowls are a complete meal on their own they pair beautifully with a simple green salad dressed with a light vinaigrette to balance the richness. For a more substantial spread consider serving them alongside roasted vegetables or a clear soup like Italian wedding or chicken broth with herbs. If serving for a party consider making mini versions using dinner rolls for an impressive appetizer that guests can pick up and enjoy while mingling.
Recipe FAQs
- → What kind of bread works best for these Alfredo bread bowls?
Sturdy, round bakery rolls like sourdough or Italian rolls (4-5 inches across) work best as they hold their shape and don't get soggy. Avoid very soft bread varieties that might collapse under the weight and moisture of the filling.
- → Can I prepare any components ahead of time?
Yes! The chicken Alfredo filling can be prepared up to 2 days ahead and refrigerated. You can also hollow out the bread bowls a few hours in advance, but wait to brush them with garlic butter until just before filling and baking for the best results.
- → What can I do with the bread I remove from the centers?
Don't waste those bread pieces! Toss them with olive oil, garlic, and herbs, then toast in the oven for homemade croutons. Alternatively, process them into breadcrumbs or use them to thicken soups and sauces.
- → Can I customize the filling with other ingredients?
Absolutely! This dish is very adaptable. Try adding spinach, mushrooms, sun-dried tomatoes, or different cheese varieties like fontina or provolone. You could also swap the chicken for shrimp, ham, or make it vegetarian with extra vegetables.
- → How do I prevent the bread bowls from getting soggy?
For extra-crispy bread bowls that resist sogginess, pre-toast the hollowed bread for about 5 minutes before filling. Also, ensure your Alfredo sauce isn't too thin - a thicker sauce will be less likely to soak through the bread.
- → Can I freeze these chicken Alfredo bread bowls?
While they're best enjoyed fresh, you can freeze the assembled but unbaked bread bowls. Wrap individually in plastic wrap and foil, then freeze for up to 1 month. Bake from frozen, adding 10-15 minutes to the cooking time and covering with foil for the first half of baking.