
 Bookmark
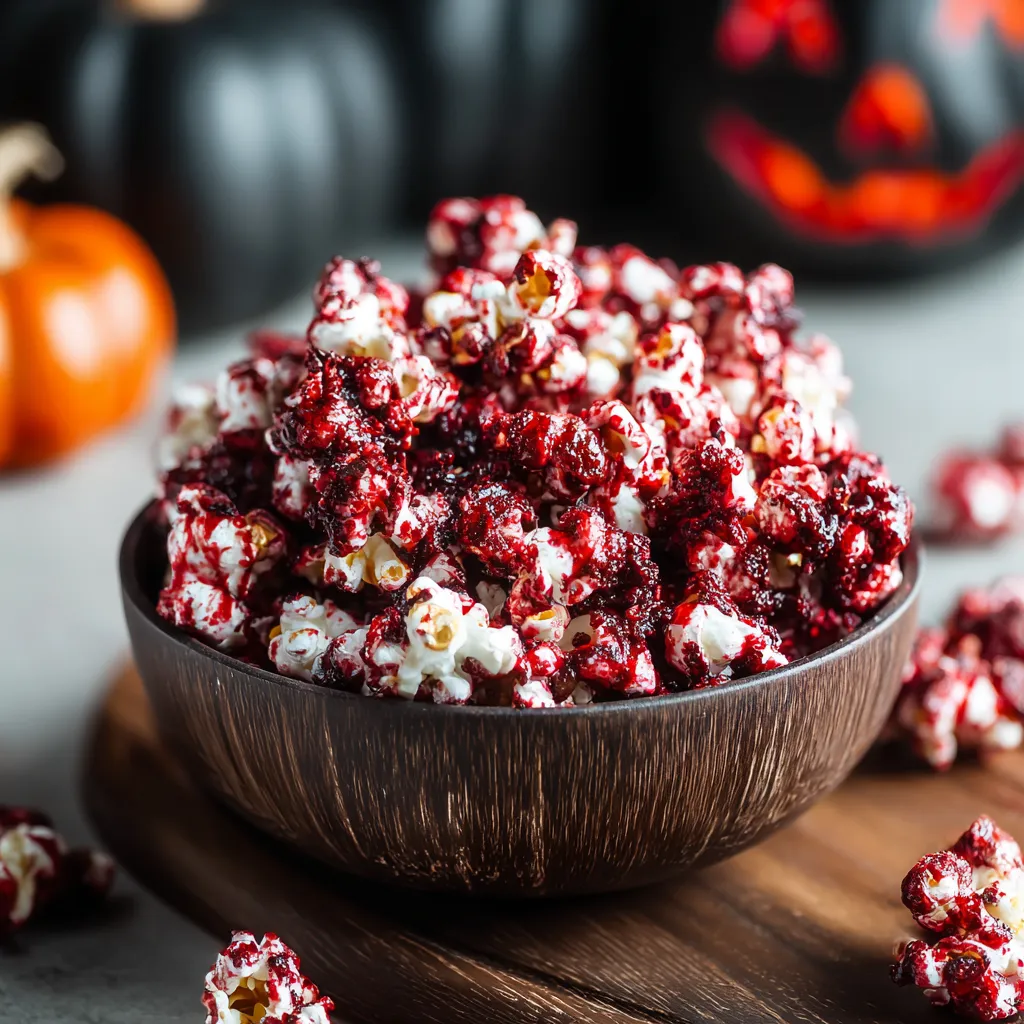
This bloody red velvet popcorn transforms movie night into a spooktacular affair. The combination of buttery popcorn coated in rich red velvet chocolate and drizzled with blood-like syrup creates a hauntingly delicious treat that's perfect for Halloween parties or horror film marathons.
I first created this bloody popcorn for my niece's vampire-themed birthday party, and it was such a hit that it's now requested at every family Halloween gathering. The dramatic presentation always gets gasps before the bowl is quickly emptied.
Ingredients
- 10 cups popped popcorn Fresh popcorn works best for coating. Air-popped gives the cleanest flavor, but microwave popcorn works in a pinch.
- 1/2 cup red velvet chocolate melts These special chocolate wafers melt smoothly and have that distinctive red velvet flavor. Look for them in craft stores or baking supply shops.
- 1/4 cup red syrup Grenadine gives a translucent bloody effect, while red icing provides a thicker drizzle. Choose based on how realistic you want your bloody effect to be.
Step-by-Step Instructions
- Prepare the Base
- Spread your popped popcorn in a single layer on a parchment-lined baking sheet. Make sure to remove any unpopped kernels first to prevent unwelcome dental surprises. The parchment paper is crucial for easy cleanup and preventing sticking.
- Melt the Chocolate
- Place red velvet chocolate melts in a microwave-safe bowl and heat in 30-second intervals at 50% power. Stir thoroughly between each interval until completely smooth. Be patient here the chocolate can burn easily if overheated. The melted chocolate should be fluid but not too hot.
- Coat the Popcorn
- Drizzle about half of the melted chocolate over the popcorn, then gently toss with a spatula. Add the remaining chocolate and continue tossing until the popcorn is evenly coated. Work quickly before the chocolate begins to set. The goal is a light coating rather than heavily saturated pieces.
- Add the Blood Effect
- Once the chocolate begins to set but is still slightly tacky, drizzle the red syrup in random patterns across the popcorn. For maximum visual impact, create some thicker drips and splatters alongside thinner streams. This creates the illusion of fresh and dried blood.
- Set and Serve
- Allow the popcorn to rest undisturbed for about 20 minutes until the chocolate fully sets. Break apart any large clusters before transferring to a serving bowl. The contrast between the red coating and the white interior of the popcorn creates a perfectly gruesome visual.
 Bookmark
The red velvet chocolate is truly the star here. I discovered it during a baking experiment gone wrong and now keep it stocked in my pantry year-round. The subtle cocoa notes paired with the vibrant red color create a treat that's as beautiful as it is delicious.
Storage Tips
This bloody popcorn maintains its best texture when stored in an airtight container at room temperature for up to three days. Avoid refrigeration as this can make the popcorn soggy. If making ahead for a party, I recommend preparing it the same day for the freshest taste and most dramatic appearance. The chocolate coating actually helps extend the shelf life of the popcorn by preventing it from becoming stale as quickly.
Spooky Variations
You can easily adapt this recipe to fit different Halloween themes. For a zombie version, add a sprinkle of crushed green candy melts to represent mold. For a vampire theme, mix in small candy fangs. Witch-themed parties call for black and purple sprinkles mixed into the red chocolate. You could even add edible glitter for a twilight vampire effect that sparkles ominously under party lights.
Serving Suggestions
Elevate your Halloween table by serving this bloody popcorn in small paper cones arranged in a stand, or pile it high in a cauldron for guests to scoop. Pair with blood-red punch or blackberry sangria for adults. For an interactive experience, serve plain popcorn alongside the red velvet coating and blood syrup, allowing guests to create their own level of gore. This becomes a fun activity station at Halloween gatherings.
Recipe FAQs
- → What type of popcorn works best for this treat?
Plain, unsalted popcorn works best as it provides a neutral base for the sweet coatings. Air-popped or lightly salted popcorn can both work well, though the salt-sweet combination with lightly salted creates an interesting flavor contrast.
- → Where can I find red velvet chocolate melts?
Red velvet chocolate melts can be found at craft stores like Michaels or Hobby Lobby, baking supply stores, or online retailers like Amazon. If unavailable, white chocolate melts with red food coloring and a teaspoon of cocoa powder can substitute.
- → Can I make this ahead of time?
Yes! This treat stores well in an airtight container at room temperature for up to 5 days. For best results, let the chocolate coating fully set before storing to prevent sticking.
- → What alternatives can I use for the red syrup?
Beyond grenadine or red icing, you could use raspberry syrup, thinned strawberry jam, cherry syrup, or even a simple syrup with red food coloring. For an adult version, a reduction of red wine with sugar creates a sophisticated bloody effect.
- → How can I make this treat even more festive?
Add Halloween-themed sprinkles, edible glitter, small candy eyeballs, or black sugar crystals for more visual impact. You could also incorporate white chocolate drizzle for a contrast against the red.
- → Is this suitable for kids' parties?
Absolutely! Kids love the dramatic color and sweet taste. For classroom parties or events where mess is a concern, portion it into small paper cups or bags for easier serving and less sticky fingers.