
 Bookmark
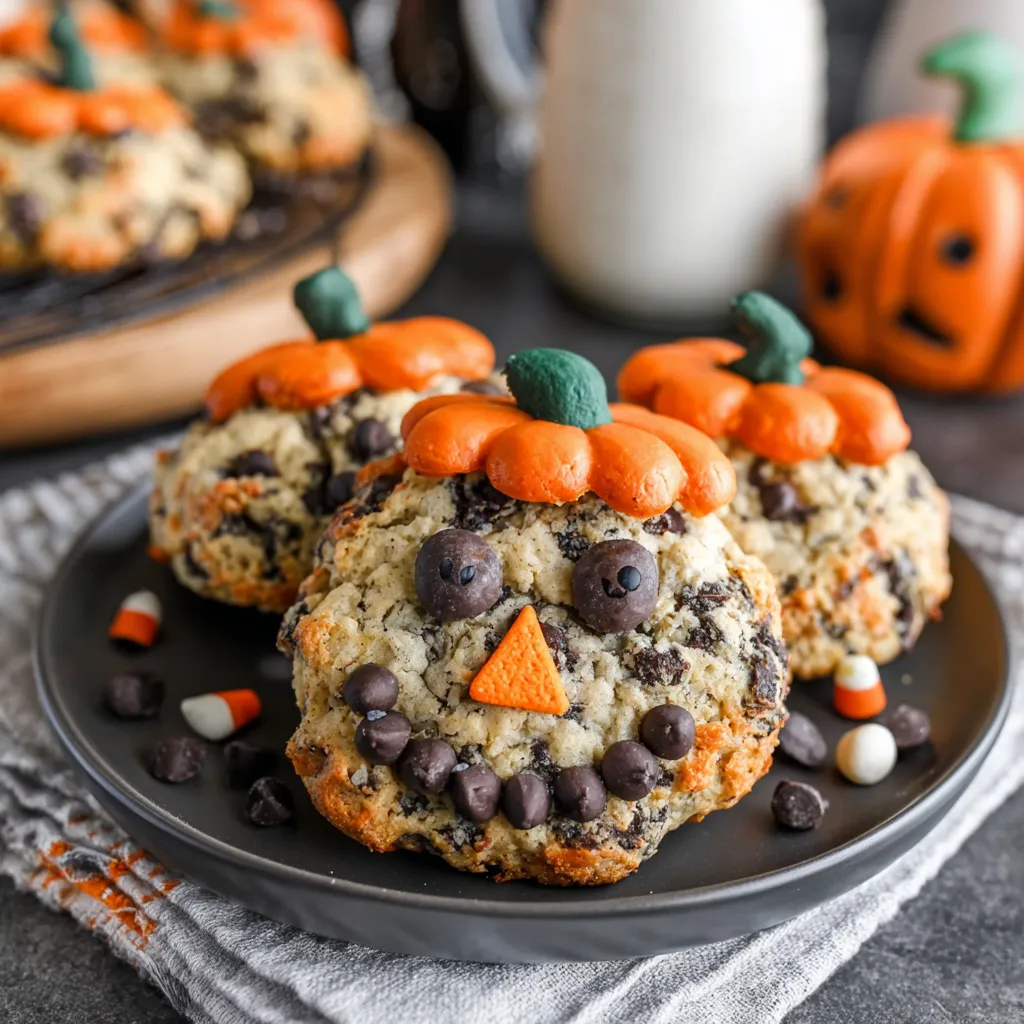
These spooky yet adorable Halloween Chocolate Chip Cookies bring festive fun to your October baking. The combination of colorful Halloween sprinkles and candy eyes transforms classic chocolate chip cookies into delightful monsters that are sure to be a hit at any Halloween gathering.
I created these cookies for my daughter's classroom Halloween party last year, and they were such a hit that several parents requested the recipe. The kids loved adding the candy eyes and choosing their favorite sprinkle colors.
Ingredients
- Unsalted butter melted for a rich, chewy texture and clean buttery flavor
- Granulated sugar creates the perfect crisp exterior on your cookies
- Light brown sugar adds moisture and that classic caramel undertone that makes chocolate chip cookies irresistible
- Large egg binds everything together and adds structure
- Vanilla extract enhances all the other flavors look for pure vanilla for best results
- Salt balances sweetness and enhances flavor use kosher salt for a cleaner taste
- Baking soda provides the perfect rise without making them too cakey
- All-purpose flour provides the structure measured properly for consistent results
- Chocolate chips use semisweet for the perfect balance of sweet and slightly bitter
- Halloween sprinkles add festive color and crunch choose jimmies rather than nonpareils for best results
- Candy eyes transform ordinary cookies into spooky creatures optional but highly recommended
Step-by-Step Instructions
- Cream The Butter And Sugars
- Add the melted butter, brown sugar, and granulated sugar to bowl and mix until smooth and combined. The melted butter creates a denser, chewier cookie than using softened butter. Make sure to mix until the sugars are fully incorporated with no lumps remaining.
- Add Wet Ingredients
- Mix in the vanilla and egg and continue mixing until combined. The mixture should become slightly lighter in color and a bit fluffy. Be careful not to overmix once the egg is added or your cookies may become tough.
- Incorporate Dry Ingredients
- Add in the flour, salt, and baking soda and mix on low until it starts to combine. Then turn up the speed and mix another 15 to 30 seconds until it is smooth, scraping down the sides of the bowl as necessary. The dough should be cohesive but still soft. Stopping when just combined prevents gluten development that would make cookies tough.
- Add Mix-Ins
- Using a spatula or large spoon gently fold in sprinkles and chocolate chips. Fold rather than mix with the mixer to prevent breaking the sprinkles and maintain their color integrity. The dough will be colorful and festive at this point.
- Shape And Chill The Dough
- Place 2 tablespoon balls of dough on a baking sheet lined with parchment. Cover with plastic wrap and chill in the fridge for 1.5 to 2 hours, or up to 24 hours. This critical chilling step prevents spreading and deepens flavor development.
- Bake The Cookies
- When ready to bake, preheat the oven to 350℉. Place the chilled dough balls about 2 inches apart on a lined baking sheet. Bake for 11 to 13 minutes until the edges are golden but the centers still look slightly underdone. They will continue cooking on the hot baking sheet after removal.
- Add Candy Eyes
- Once the cookies are done, immediately place the candy eyes onto the cookies while they are still warm from the oven. The residual heat will help them stick without needing any additional adhesive. This is when the cookies transform from ordinary to Halloween magic.
- Cool And Enjoy
- Let cool on the baking sheet for 5 minutes before transferring to a wire rack to cool completely. The cookies will firm up as they cool while maintaining their chewy centers.
 Bookmark
My favorite part about these cookies is watching children's faces light up when they see the googly eyes staring back at them. My daughter and I have a tradition of making these every October while listening to the Monster Mash, and it's become one of our favorite Halloween traditions.
Storage Tips
These Halloween cookies will maintain their freshness for 3 to 5 days when stored in an airtight container at room temperature. To keep them extra soft, add a slice of bread to the container the bread will dry out but your cookies will stay moist. For longer storage, you can freeze the baked cookies for up to 3 months in a freezer safe container with parchment between layers. Thaw at room temperature before serving.
Make Ahead Options
The beauty of this recipe is its flexibility for busy Halloween schedules. You can prepare the dough up to 24 hours in advance and keep it refrigerated until ready to bake. For even longer prep, roll the dough into balls and freeze them on a baking sheet, then transfer to a freezer bag once solid. Frozen dough balls can be baked directly from frozen just add 1 to 2 minutes to the baking time. This makes fresh Halloween cookies possible even on hectic October evenings.
Customization Ideas
These Halloween cookies are endlessly customizable to suit your spooky preferences. Try using orange and black M&Ms instead of chocolate chips for extra Halloween flair. Create different monster faces by varying the placement of the candy eyes some with one eye, others with three. For an even more festive appearance, drizzle with orange or black colored white chocolate after baking. You can also add 1/4 teaspoon of cinnamon or pumpkin pie spice to the dough for seasonal warmth.
Recipe FAQs
- → Can I freeze the cookie dough?
Yes, you can freeze the cookie dough for 2-3 months. Either freeze the dough balls on a baking sheet until solid, then transfer to a freezer bag, or freeze the already baked cookies in an airtight container. When ready to bake frozen dough, you may need to add 1-2 minutes to the baking time.
- → Why do I need to chill the dough?
Chilling the dough for 1.5-2 hours is essential as it allows the flour to fully hydrate and the butter to solidify. This prevents the cookies from spreading too much during baking, resulting in thicker, chewier cookies with better texture and flavor development.
- → What can I use instead of candy eyes?
If you don't have candy eyes, you can use white chocolate chips with a dot of black decorating gel for pupils, mini M&Ms, or small pieces of black and white fondant. You could also pipe eyes using royal icing or melted chocolate after the cookies have cooled.
- → Can I make these cookies without Halloween sprinkles?
Absolutely! You can substitute the Halloween sprinkles with any seasonal sprinkles for different holidays, or use regular chocolate chips or chunks for a classic chocolate chip cookie. The base recipe remains delicious regardless of decorative additions.
- → How do I know when the cookies are done baking?
The cookies are done when the edges turn golden brown while the centers still look slightly underbaked and soft, typically after 11-13 minutes at 350°F. They will continue to set as they cool on the baking sheet. For crispier cookies, bake 1-2 minutes longer.
- → Why should I measure flour using the spoon and swipe method?
The spoon and swipe method (fluffing flour, spooning into measuring cups, and leveling off) prevents over-measuring flour, which can result in dry, dense cookies. This technique ensures you get the 186g of flour needed for perfect cookie texture and moisture.