
 Bookmark
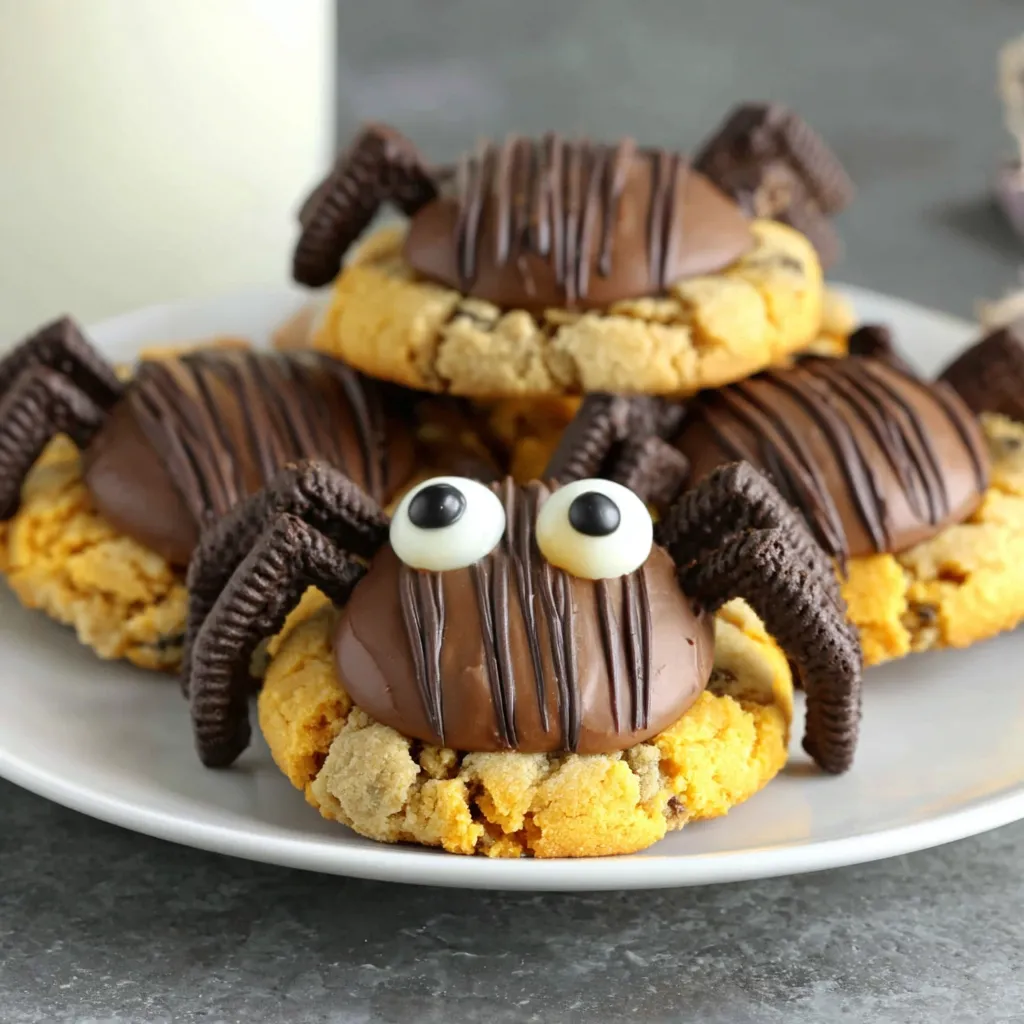
This festive peanut butter spider cookie recipe transforms ordinary cookies into spooktacular Halloween treats that both kids and adults will devour. The combination of soft peanut butter cookies topped with Reese's cups and chocolate spider legs creates an irresistibly cute dessert perfect for Halloween parties.
I first made these for my niece's elementary school Halloween party and they disappeared faster than any other treat on the table. Now they've become our annual tradition with the kids fighting over who gets to pipe on the spider legs.
Ingredients
- All purpose flour creates the perfect sturdy but soft cookie base
- Baking soda gives these cookies their perfect rise and texture
- Salt enhances all the flavors especially the peanut butter
- Unsalted butter room temperature ensures proper creaming for a tender cookie
- Light brown sugar adds moisture and deeper flavor than white sugar alone
- Granulated sugar provides structure and the perfect amount of sweetness
- Smooth peanut butter choose a commercial brand like Jif or Skippy for best results
- Egg binds everything together and adds richness
- Vanilla extract provides warmth and depth of flavor
- Whole milk adds moisture and tenderness to the dough
- Miniature Reese's peanut butter cups create the spider bodies look for fresh ones with intact edges
- Semi sweet chocolate melts perfectly for creating delicate spider legs
- Candy eyes bring these spiders to life find these in baking sections or craft stores
Step-by-Step Instructions
- Prepare Baking Sheets
- Line two cookie sheets with parchment paper ensuring no part of the pan is exposed. This prevents sticking and makes cleanup much easier. The parchment also helps the cookies bake more evenly.
- Mix Dry Ingredients
- Whisk together flour baking soda and salt in a medium bowl until completely combined. This even distribution prevents any surprising pockets of salt or baking soda in your finished cookies.
- Cream Butter and Sugars
- Beat the room temperature butter with both brown and white sugars until the mixture lightens in color and becomes fluffy about 3 to 4 minutes. Scrape down the sides frequently to ensure everything incorporates evenly. This step creates air pockets for a tender cookie.
- Add Peanut Butter
- Mix in the peanut butter until the mixture becomes even lighter and fluffier about 2 minutes more. The texture should be almost mousse like with no streaks of butter visible.
- Incorporate Wet Ingredients
- Add the egg and vanilla to the fluffy mixture beating until fully incorporated then mix in the milk until smooth. The dough will become slightly looser at this point.
- Complete the Dough
- Gradually add the dry ingredients to the wet mixture mixing just until no flour streaks remain. Overmixing will develop too much gluten resulting in tough cookies.
- Chill the Dough
- Cover the bowl with plastic wrap and refrigerate for at least 2 hours or overnight. This critical step allows the flavors to meld and prevents the cookies from spreading too much during baking.
- Bake the Cookies
- Preheat your oven to 375°F then scoop chilled dough into 2 tablespoon balls placing them 2 inches apart. Bake for 10 to 12 minutes until the edges are golden but the centers still look slightly soft.
- Add Peanut Butter Cups
- Allow cookies to cool on the baking sheet for 3 to 5 minutes before pressing a Reese's cup into the center of each cookie. This timing is crucial too soon and they will melt too late and they won't adhere properly.
- Create Spider Features
- Once cookies have completely cooled pipe 8 legs using melted chocolate from the Reese's cup to the cookie edge. Use additional melted chocolate to attach candy eyes to the front of each Reese's cup.
 Bookmark
The miniature Reese's cups are absolutely my favorite part of this recipe. My daughter once suggested we try regular sized ones but the proportions were all wrong. The mini cups create the perfect spider body that's substantial enough to hold the legs without overwhelming the cookie base.
Make Ahead and Storage Tips
These spider cookies maintain their freshness for up to 5 days when stored in an airtight container at room temperature. Place parchment paper between layers to prevent the chocolate legs from breaking. For longer storage freeze the fully decorated cookies on a baking sheet until solid then transfer to a freezer container with parchment between layers. They'll keep for up to 3 months and thaw beautifully at room temperature in about an hour.
Easy Modifications
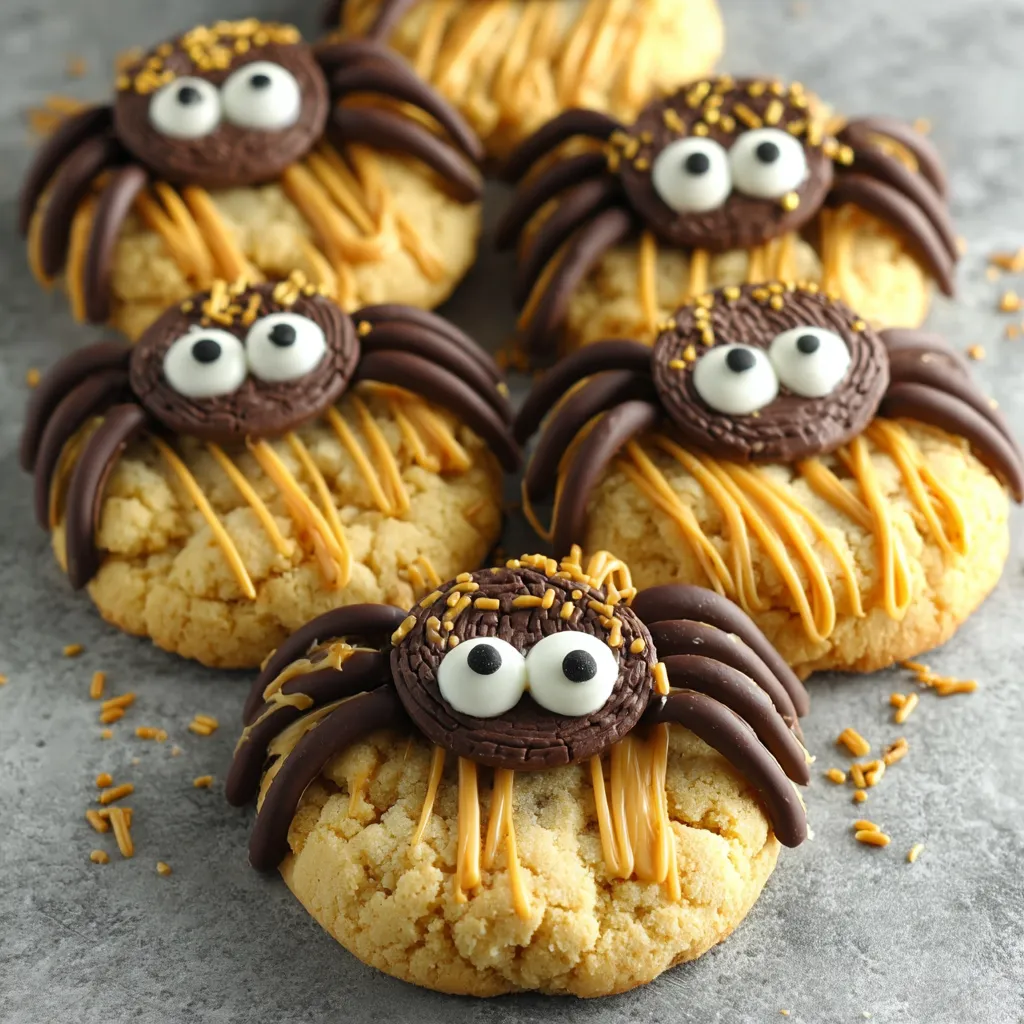
This recipe works wonderfully with several easy substitutions. For a chocolatier version use chocolate cookie dough instead of peanut butter. Those with peanut allergies can substitute almond butter or sunflower seed butter and top with Oreo cookies instead of Reese's cups. For a more dramatic spider effect use white chocolate for the legs on chocolate cookies or dark chocolate legs on peanut butter cookies for higher contrast.
Kid Friendly Baking Project
Turn this recipe into a memorable family activity by setting up a spider cookie decorating station. Bake the cookies and add the peanut butter cups ahead of time then let children pipe the legs and add the eyes. Pre fill piping bags with melted chocolate and snip just a small hole to prevent too much chocolate from coming out at once. Even toddlers can participate by placing the candy eyes while older kids handle the piping.
Recipe FAQs
- → Can I make these spider cookies ahead of time?
Yes, you can make these spider cookies 2-3 days in advance. Store them in an airtight container at room temperature. For longer storage, freeze the baked cookies without decorations and add the Reese's cups, legs, and eyes after thawing.
- → Can I substitute crunchy peanut butter for smooth peanut butter?
While smooth peanut butter is recommended for consistent texture, you can use crunchy peanut butter if you prefer some texture in your cookies. The small peanut pieces will add crunch but won't significantly affect the outcome.
- → Why do I need to chill the cookie dough?
Chilling the dough for at least 2 hours is crucial as it prevents the cookies from spreading too much during baking. This helps maintain their shape and creates a better texture with softer centers and slightly crisp edges.
- → What can I use instead of Reese's cups?
If Reese's cups aren't available, you can substitute with other chocolate candies like Hershey's Kisses, chocolate truffles, or even large chocolate chips. The visual effect will be different, but you can still create spider legs with the melted chocolate.
- → How do I store leftover melted chocolate?
Any leftover melted chocolate can be stored in an airtight container in the refrigerator for up to 2 weeks. When you're ready to use it again, gently reheat in the microwave in 15-second intervals, stirring between each, until it returns to a pipeable consistency.
- → Can I make these spider cookies without peanut butter for allergy concerns?
Yes, for a peanut-free version, replace the peanut butter with cookie butter (Speculoos) or sunflower seed butter. Also substitute the Reese's cups with safe alternatives like chocolate discs or allergy-friendly chocolate candies.